
Live Sound & Performance
8 MIN READ · PRACTICAL GUIDE
A clean soundcheck does not guarantee a quiet show. Singers move, band levels rise and monitor sends creep up. This guide explains how to map the feedback path, use distance and placement, avoid over-cutting EQ, respond during a song, and record fixes for the next gig.
Read the guide ↗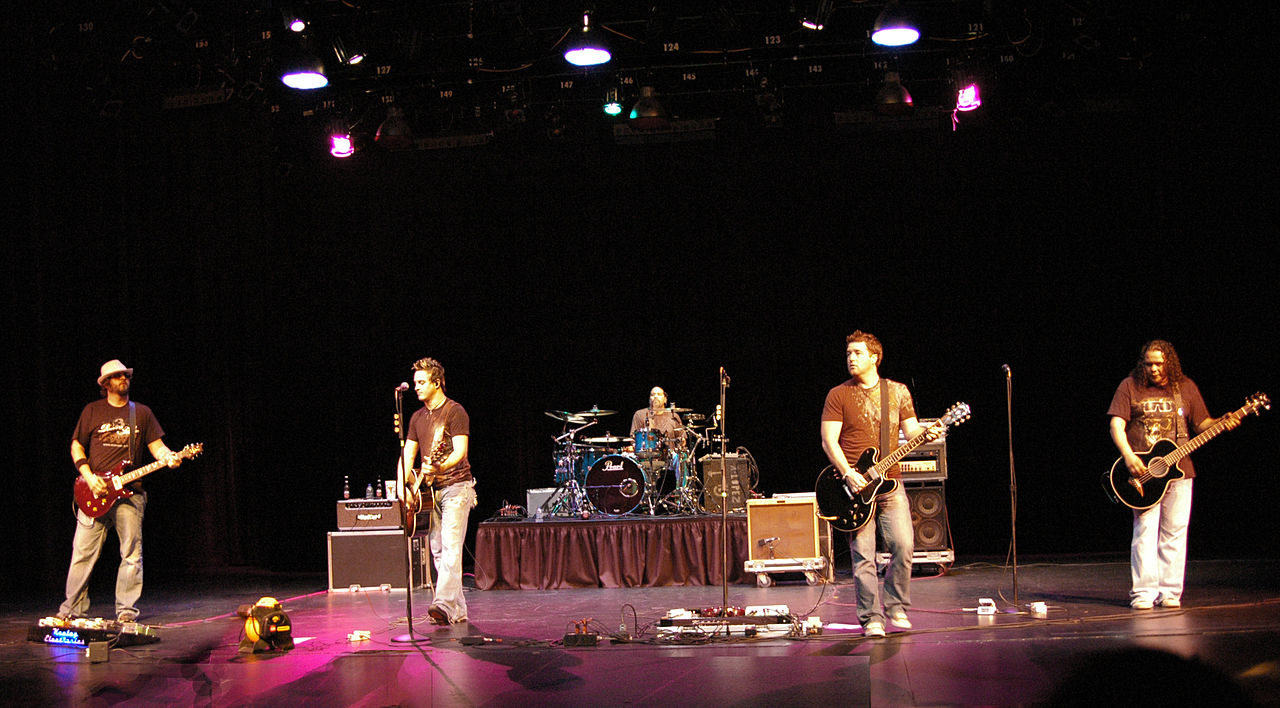
Live Sound & Performance
9 MIN READ · PRACTICAL GUIDE
When a band plays far louder at showtime than at soundcheck, pulling faders down rarely fixes it. This guide explains how to separate acoustic stage volume from what the console controls, run a realistic soundcheck, manage amps and wedges, protect hearing, and document when a smaller rig is needed.
Read the guide ↗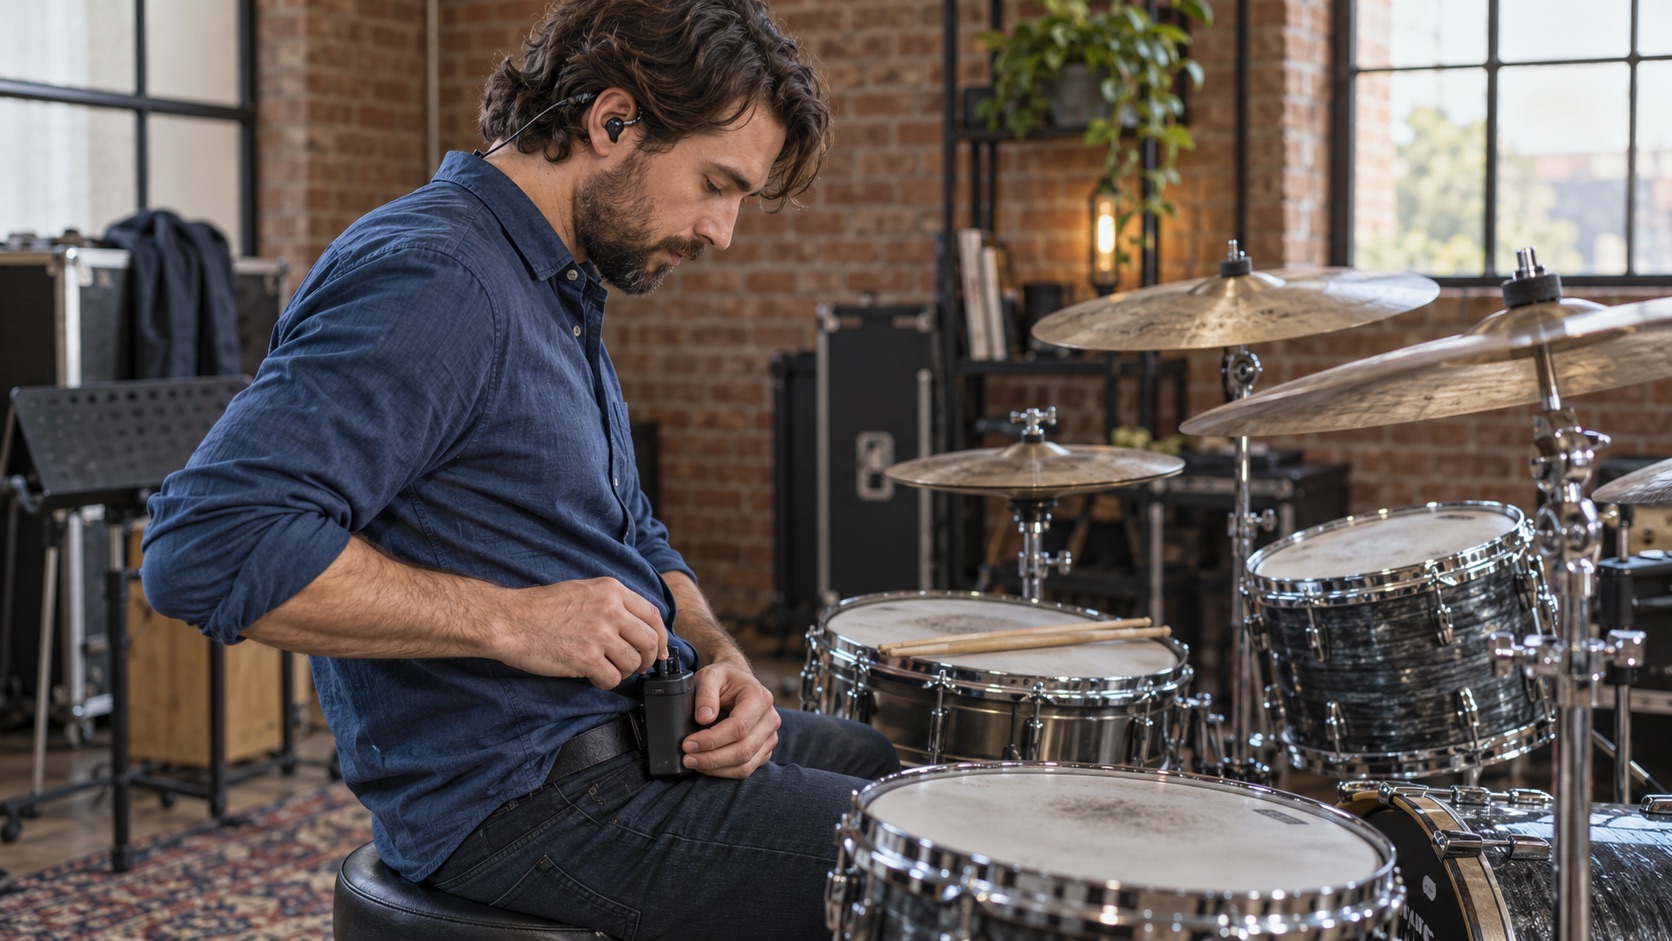
Live Sound & Performance
8 MIN READ · PRACTICAL GUIDE
A practical routine for restoring in-ear monitor level after the bodypack has been switched off. It explains why a knob mark only helps with repeatability, then covers seal and mix checks, an engineer cue, limiter behavior, intro planning, show notes, and when to seek routine or urgent hearing care.
Read the guide ↗
Live Sound & Performance
8 MIN READ · PRACTICAL GUIDE
Taking one in-ear monitor out feels like a quick fix for isolation or a bad mix. It can create two problems at once: an unprotected ear facing stage volume and a remaining earpiece that gets turned up. This guide covers causes, alternatives, a rehearsal trial and when to seek help.
Read the guide ↗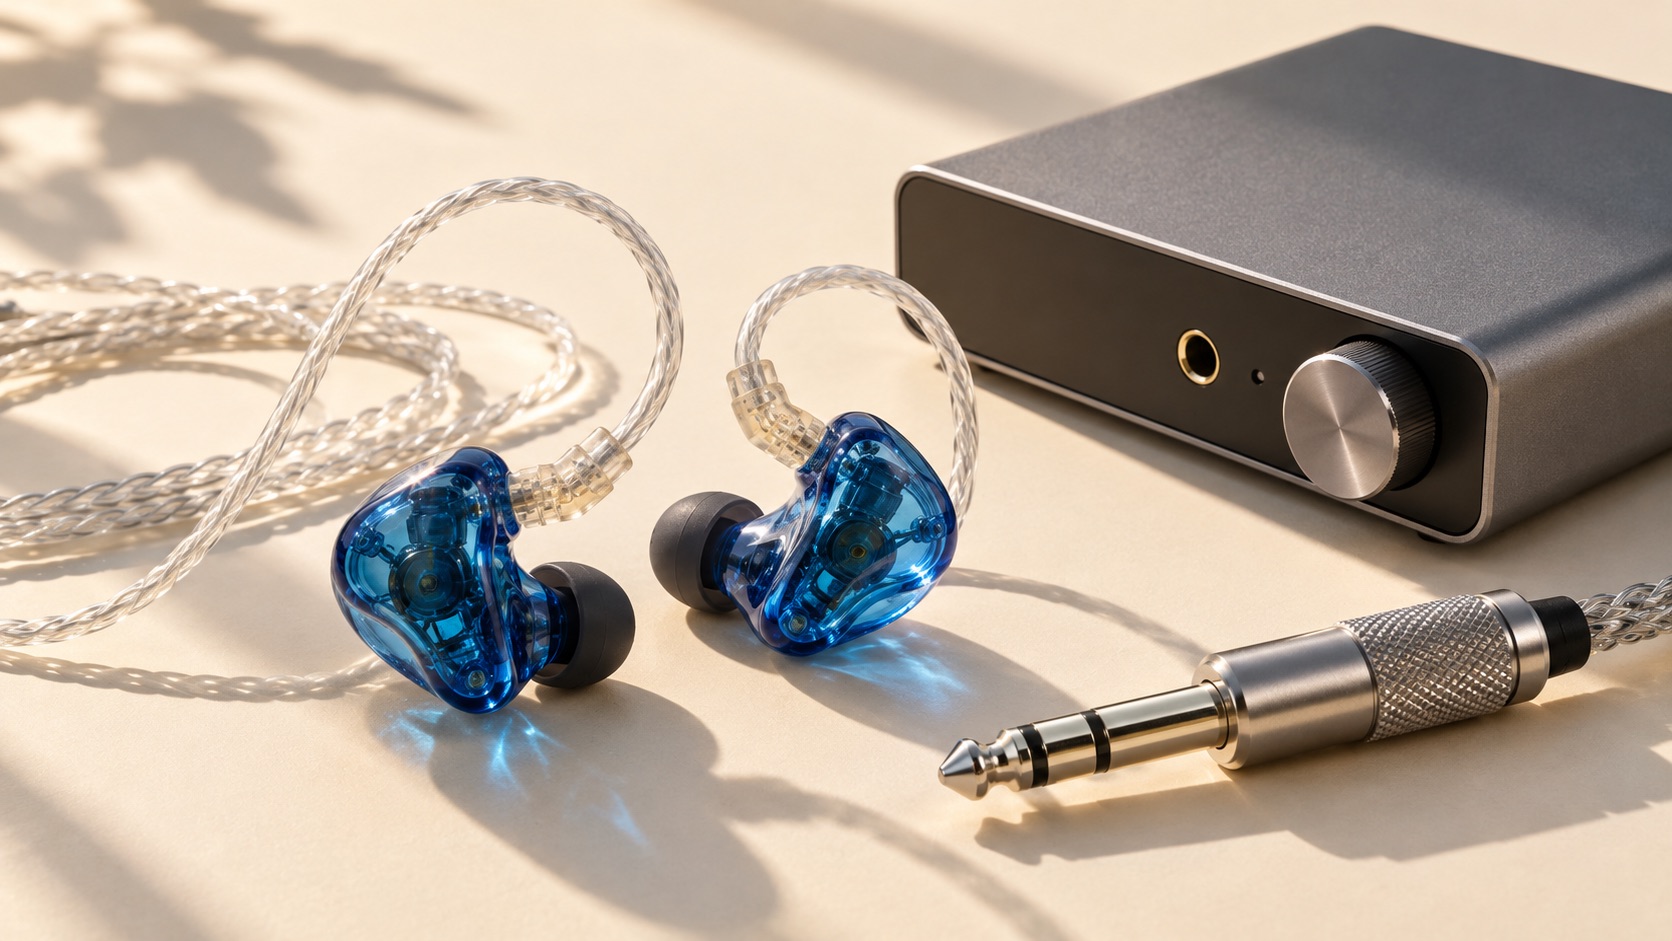
Live Sound & Performance
9 MIN READ · PRACTICAL GUIDE
One-ear in-ear monitor sound from a mixer aux send usually comes from feeding a mono balanced line output into a stereo headphone input. This guide explains the wiring difference, how to isolate the fault step by step, which specifications to read, and what to confirm before buying an adapter.
Read the guide ↗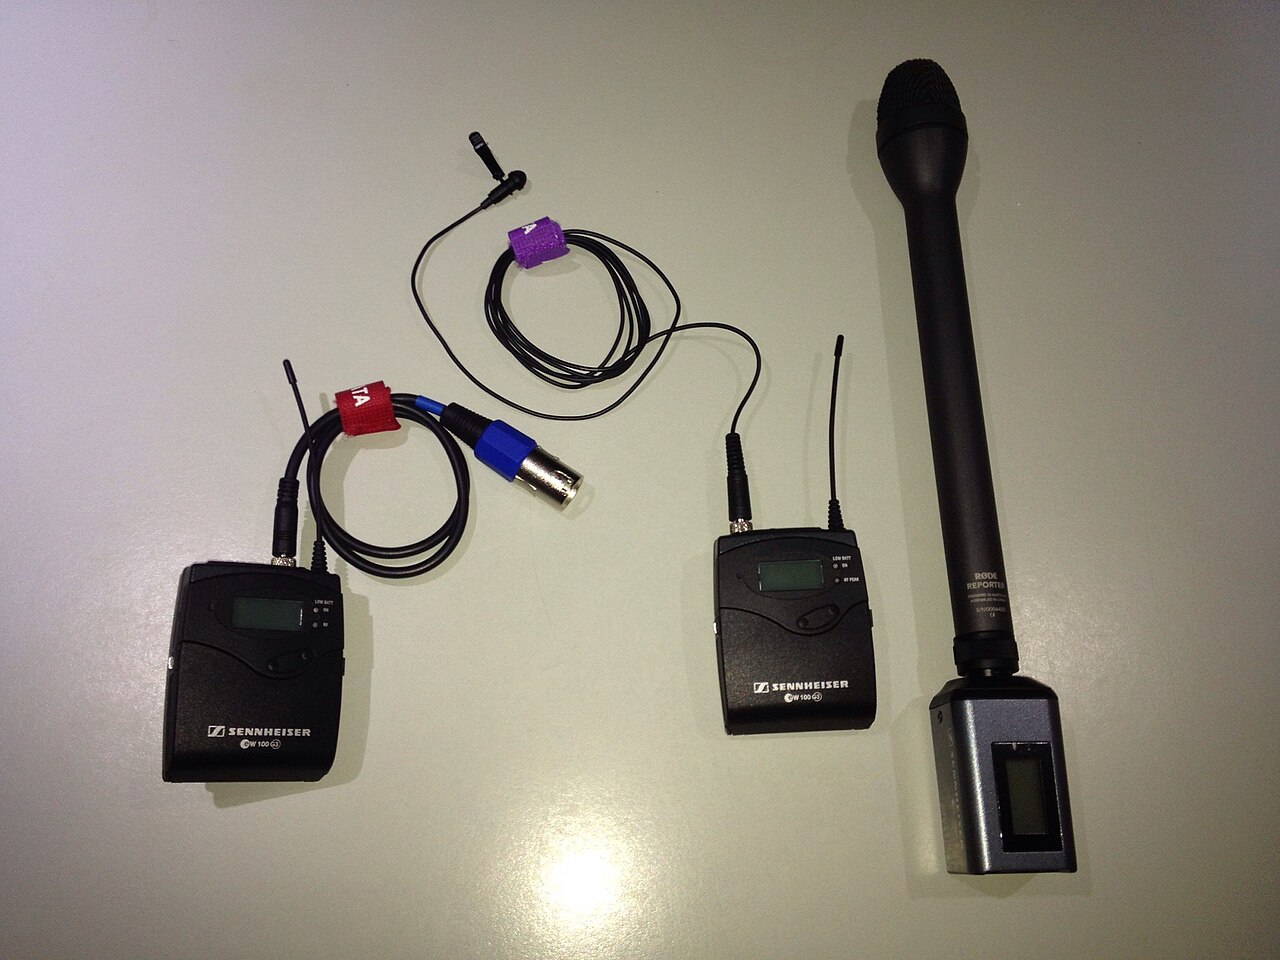
Live Sound & Performance
10 MIN READ · PRACTICAL GUIDE
A frequency scan does not guarantee a clean show. This guide explains how to log what the receiver shows at the moment of failure, isolate RF problems from audio problems, coordinate all wireless gear together, check legal tuning bands, and know when to call the manufacturer or a frequency coordinator.
Read the guide ↗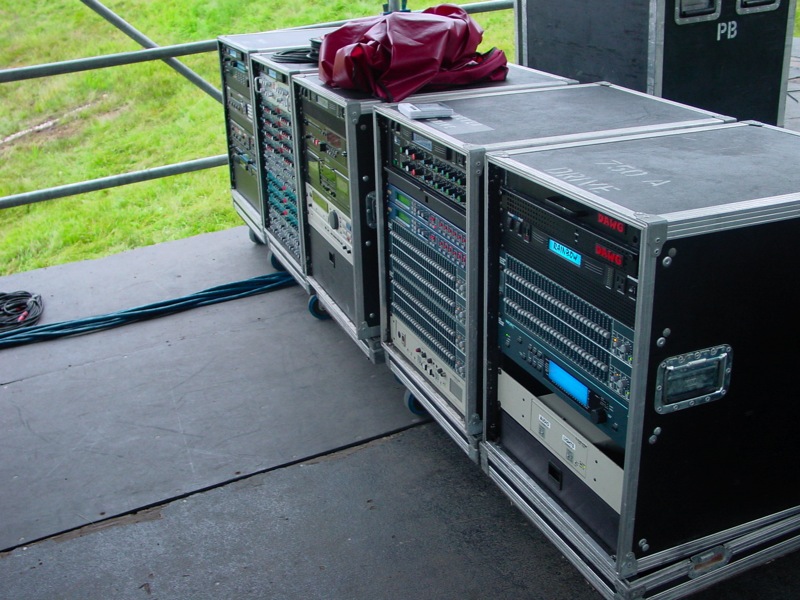
Live Sound & Performance
9 MIN READ · PRACTICAL GUIDE
A practical guide for bands whose in-ear monitor rack must share microphones with the house console. It covers labeled input lists, passive versus isolated splits, phantom-power responsibility, cabling, advancing, rehearsal handoff checks, a fallback bypass patch, and warning signs that call for a qualified engineer.
Read the guide ↗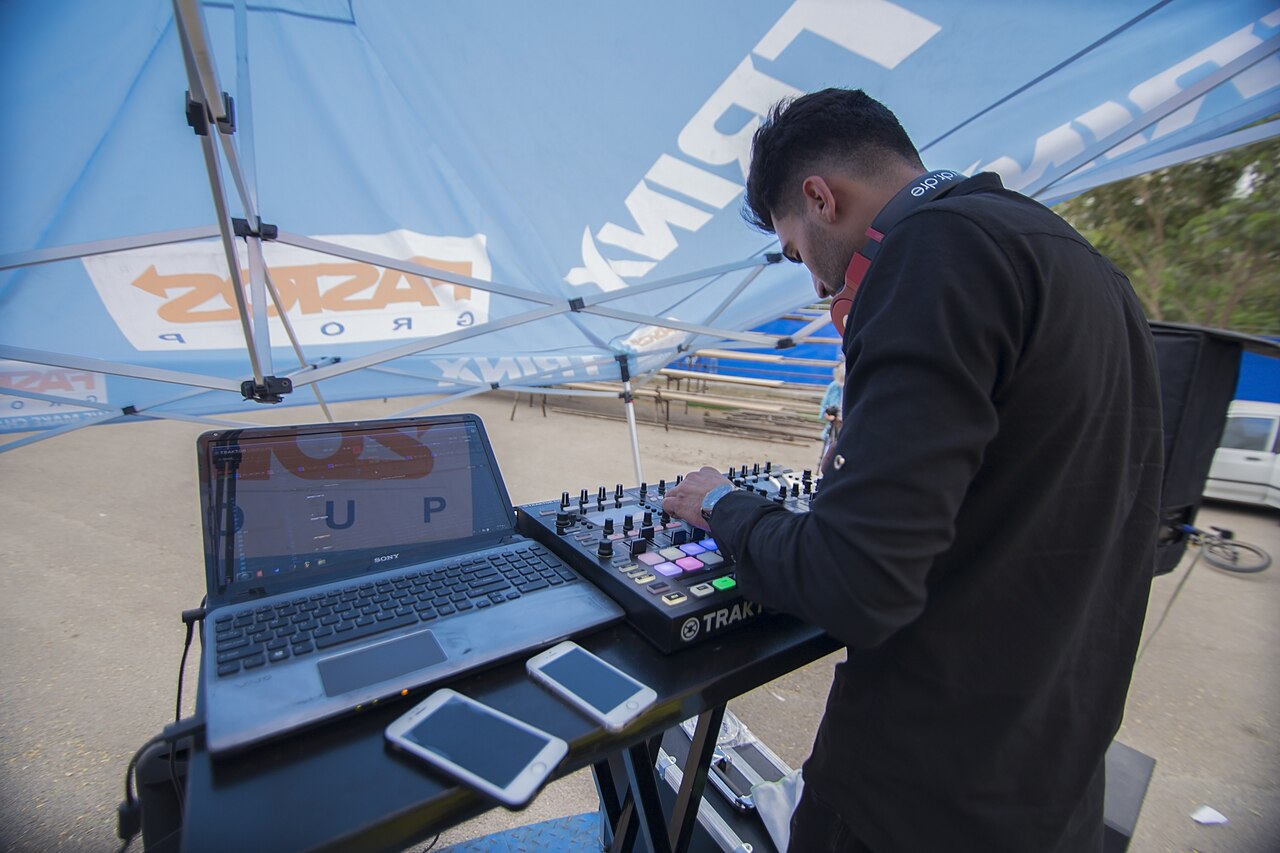
Live Sound & Performance
9 MIN READ · PRACTICAL GUIDE
A practical routing guide for bands running playback. It covers counting real outputs, choosing between mono backing plus click and stereo backing with a dedicated click, keeping the click off the main bus, labeling, song-by-song testing, a printed output map and a playback failure drill.
Read the guide ↗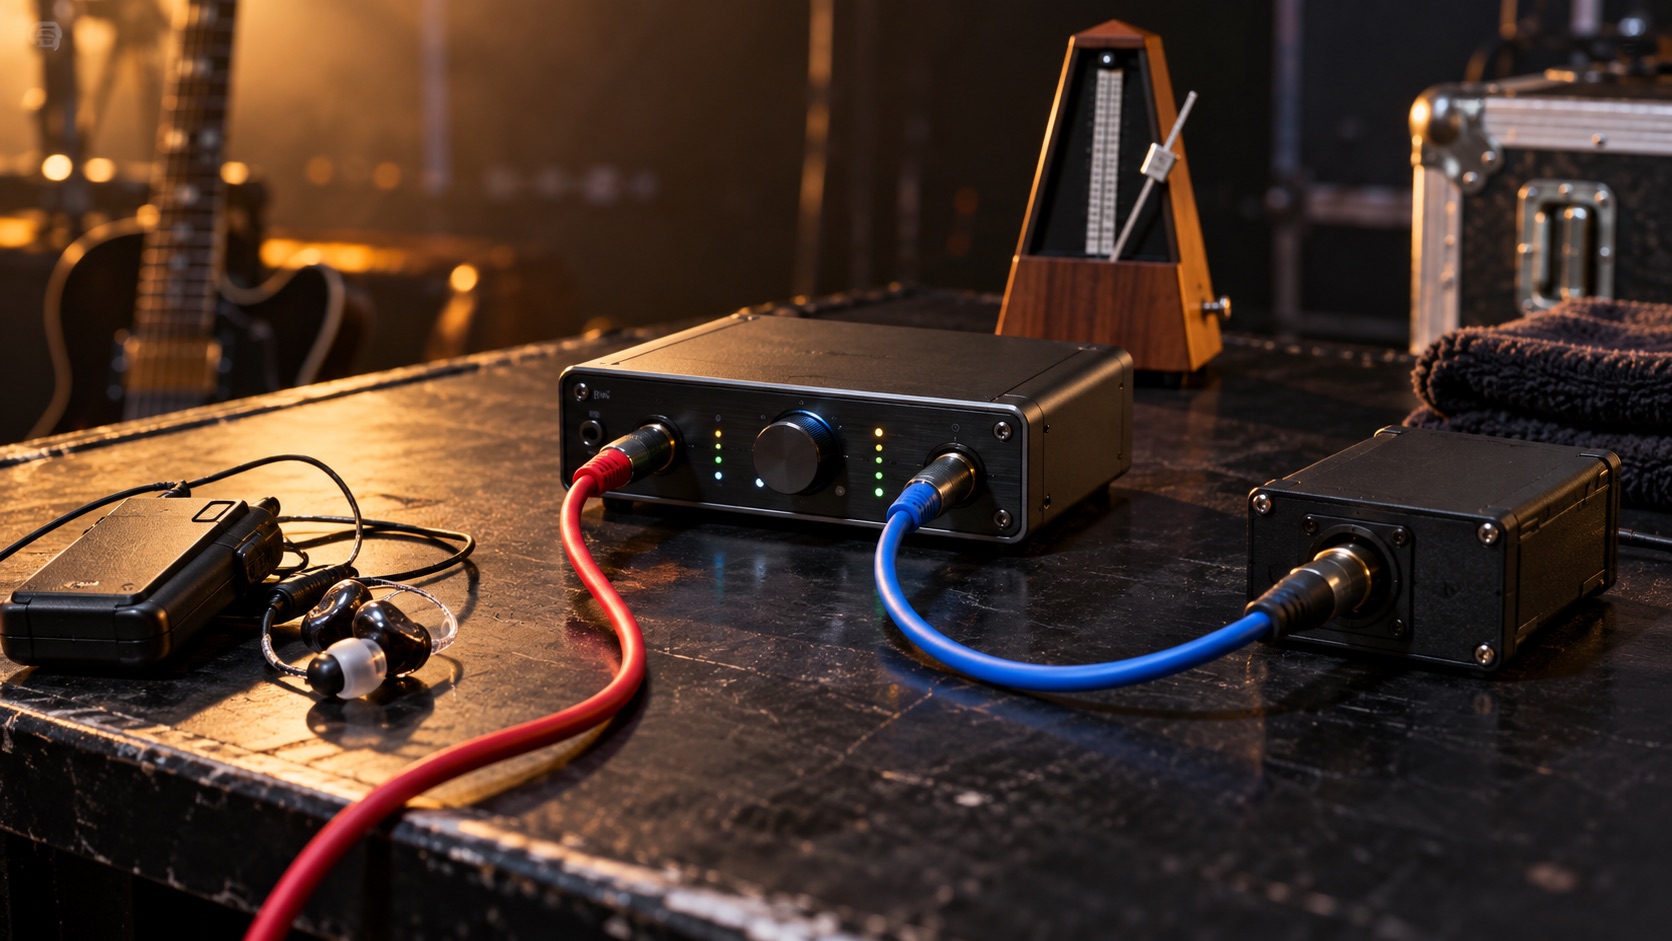
Live Sound & Performance
9 MIN READ · PRACTICAL GUIDE
When a click panned away from your backing track still reaches the mains, the leak could be in the file, the cable, the DI, a mono setting, the mixer routing or the room. This guide shows how to test each stage safely and write a pass/fail acceptance test.
Read the guide ↗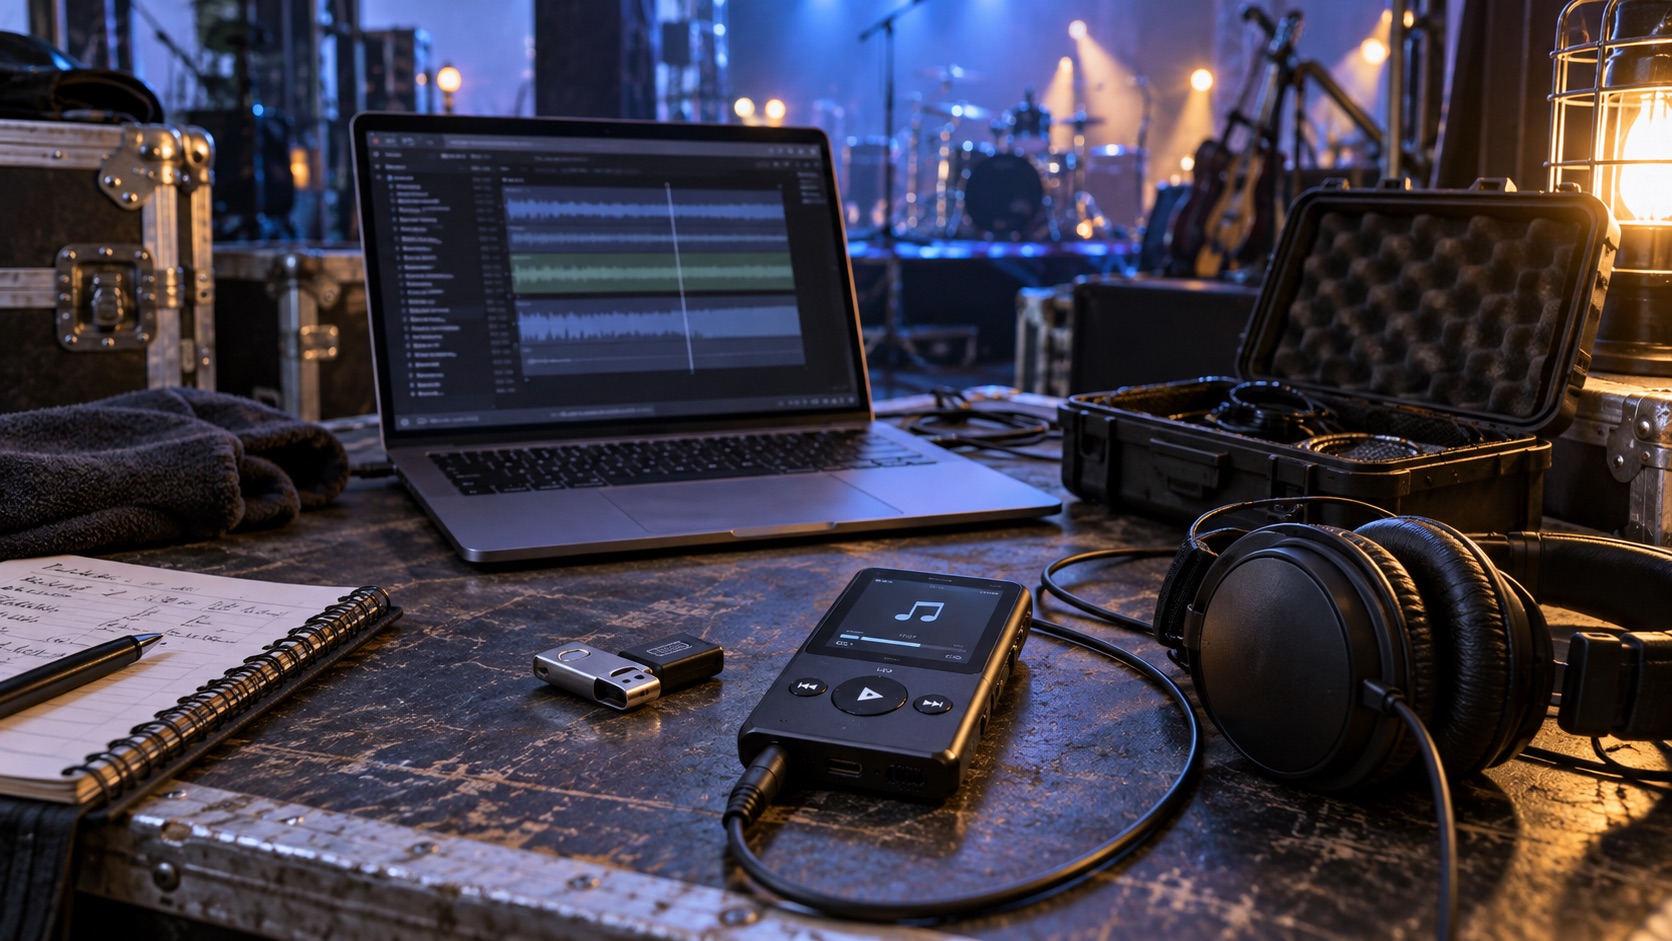
Live Sound & Performance
9 MIN READ · PRACTICAL GUIDE
A practical guide for bands using playback live. It maps where backing track playback failure starts, separates a spare player from true redundancy, explains matching exports and channel maps, and shows how to rehearse a recovery so a crash becomes a short, managed pause rather than a collapse.
Read the guide ↗
Live Sound & Performance
9 MIN READ · PRACTICAL GUIDE
When live vocals get buried in the mix, raising the fader rarely fixes it. This guide helps you find the real cause: mic technique, masking instruments, open mics, low-end buildup, effects or processing. It covers safe rehearsal comparisons, listening from several positions, and building a short, repeatable routine.
Read the guide ↗
Live Sound & Performance
9 MIN READ · PRACTICAL GUIDE
When a festival slot or a tight bill leaves no time for soundcheck, a disciplined line check can still catch dead inputs, missing monitors and broken click feeds. This guide covers what to advance, what order to check in, how to log faults, and what a line check cannot prove.
Read the guide ↗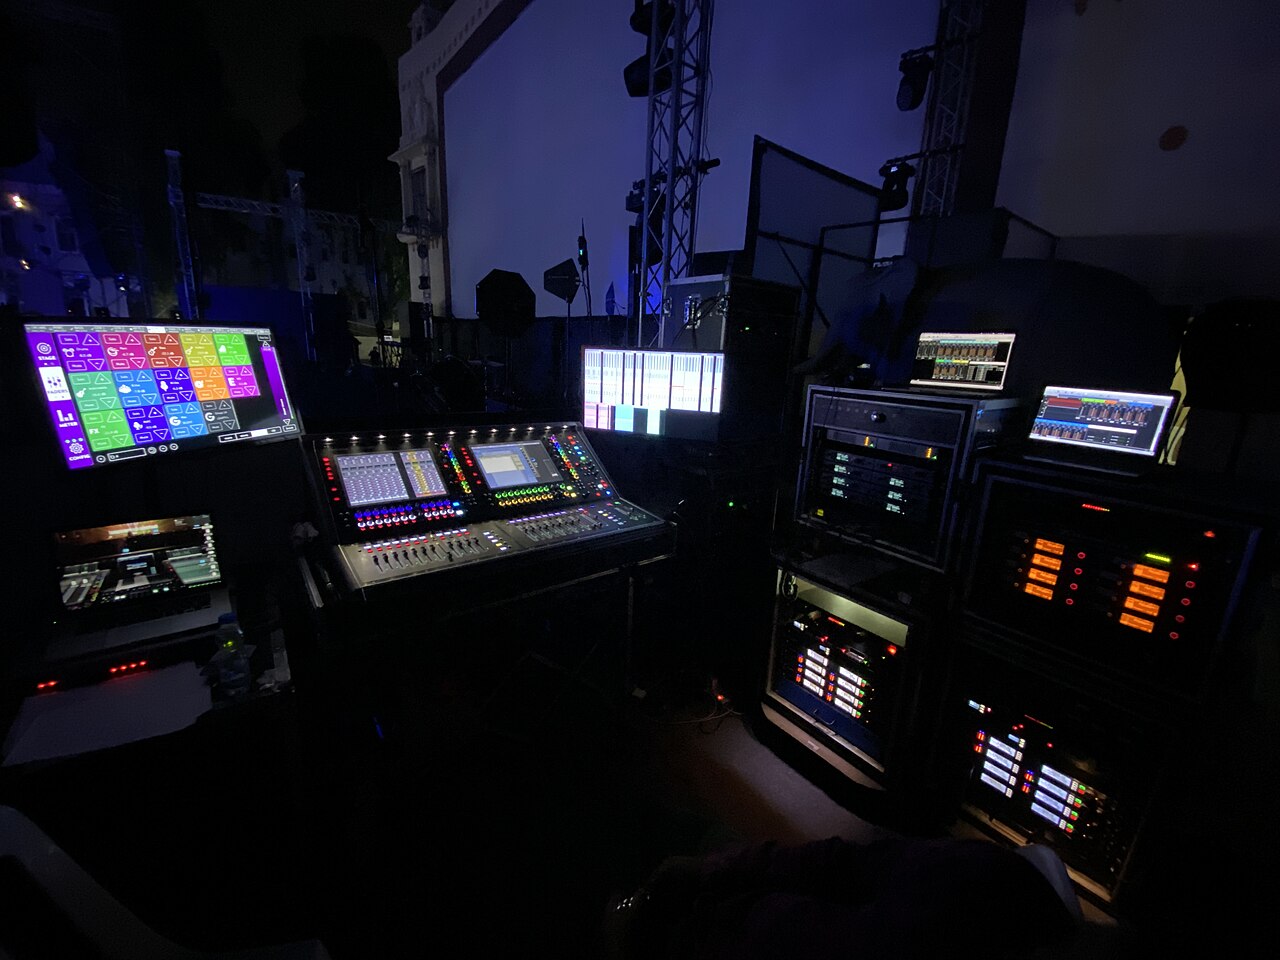
Live Sound & Performance
9 MIN READ · PRACTICAL GUIDE
A band can hate its stage sound while the audience enjoys the show, because monitors and front of house are separate mixes heard in different places. This guide explains the two signal paths, how to check monitor sends, how to make useful requests, and how to debrief honestly.
Read the guide ↗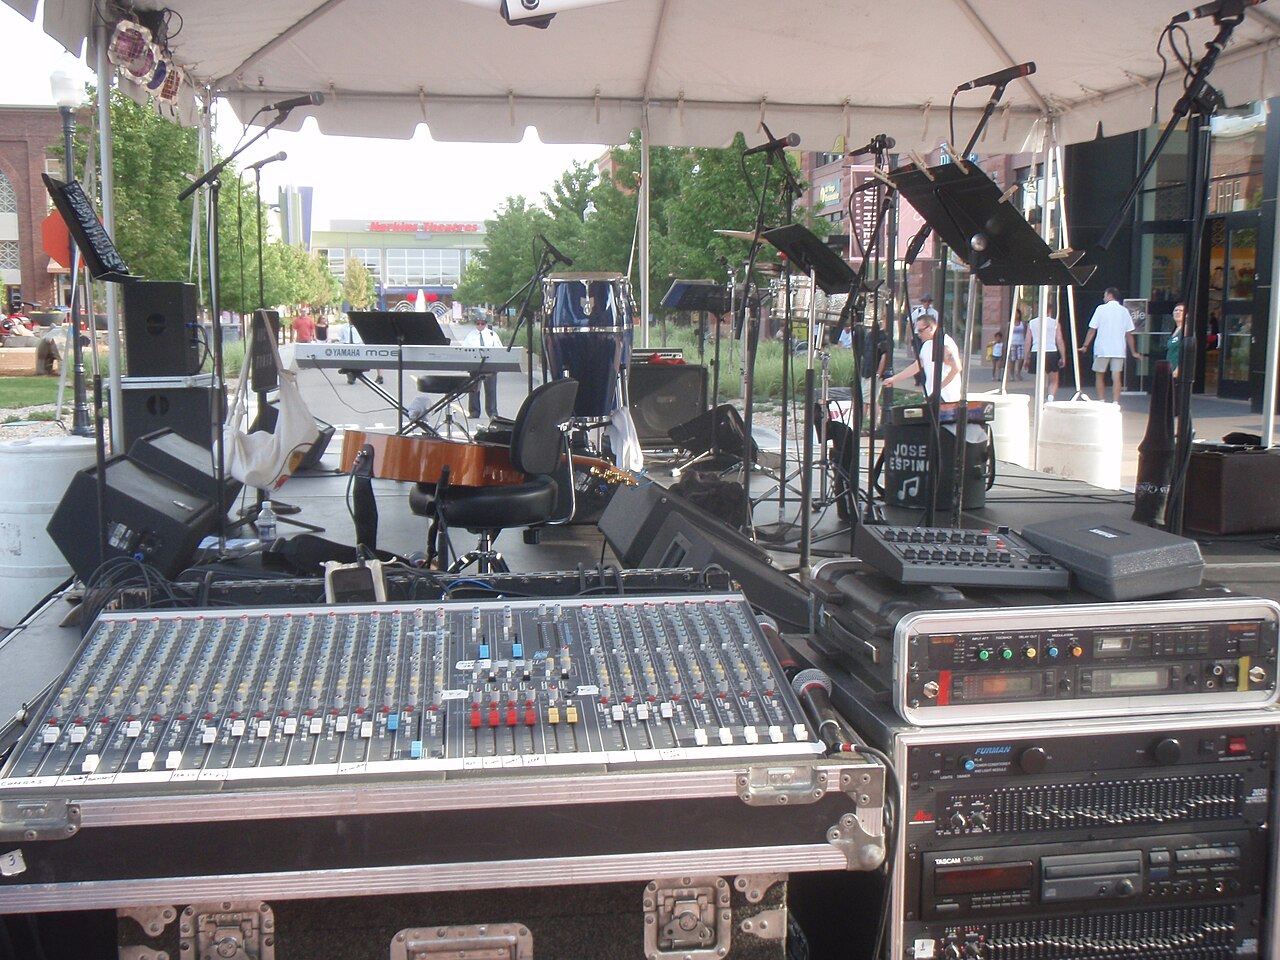
Live Sound & Performance
9 MIN READ · PRACTICAL GUIDE
When a band goes silent onstage, front-row listeners can lose guitars that amps used to supply directly. This guide explains how to map the dead zone, compare it with main-speaker coverage, plan front fill with the house engineer, and document acceptance as real musical balance.
Read the guide ↗
Live Sound & Performance
9 MIN READ · PRACTICAL GUIDE
A spare microphone in the gig bag is not a backup plan. This guide covers tracing the lead vocal chain, patching and matching a spare on its own path, rehearsing a controlled switch for silent and noisy failures, carrying the right replacements, and handling the failed part after the show.
Read the guide ↗